The native integration of the Pyro toolset inside Cinema 4D has democratized volumetric simulation, allowing motion designers and 3D artists to generate high-fidelity fire, thick smoke plumes, and dramatic explosions directly within their native workspaces.
This guide details how to build realistic volumetric setups and shade them using Redshift.
1. The Power of Native Pyro Simulation in Cinema 4D
Cinema 4D’s Pyro system operates as a GPU-accelerated volumetric solver.
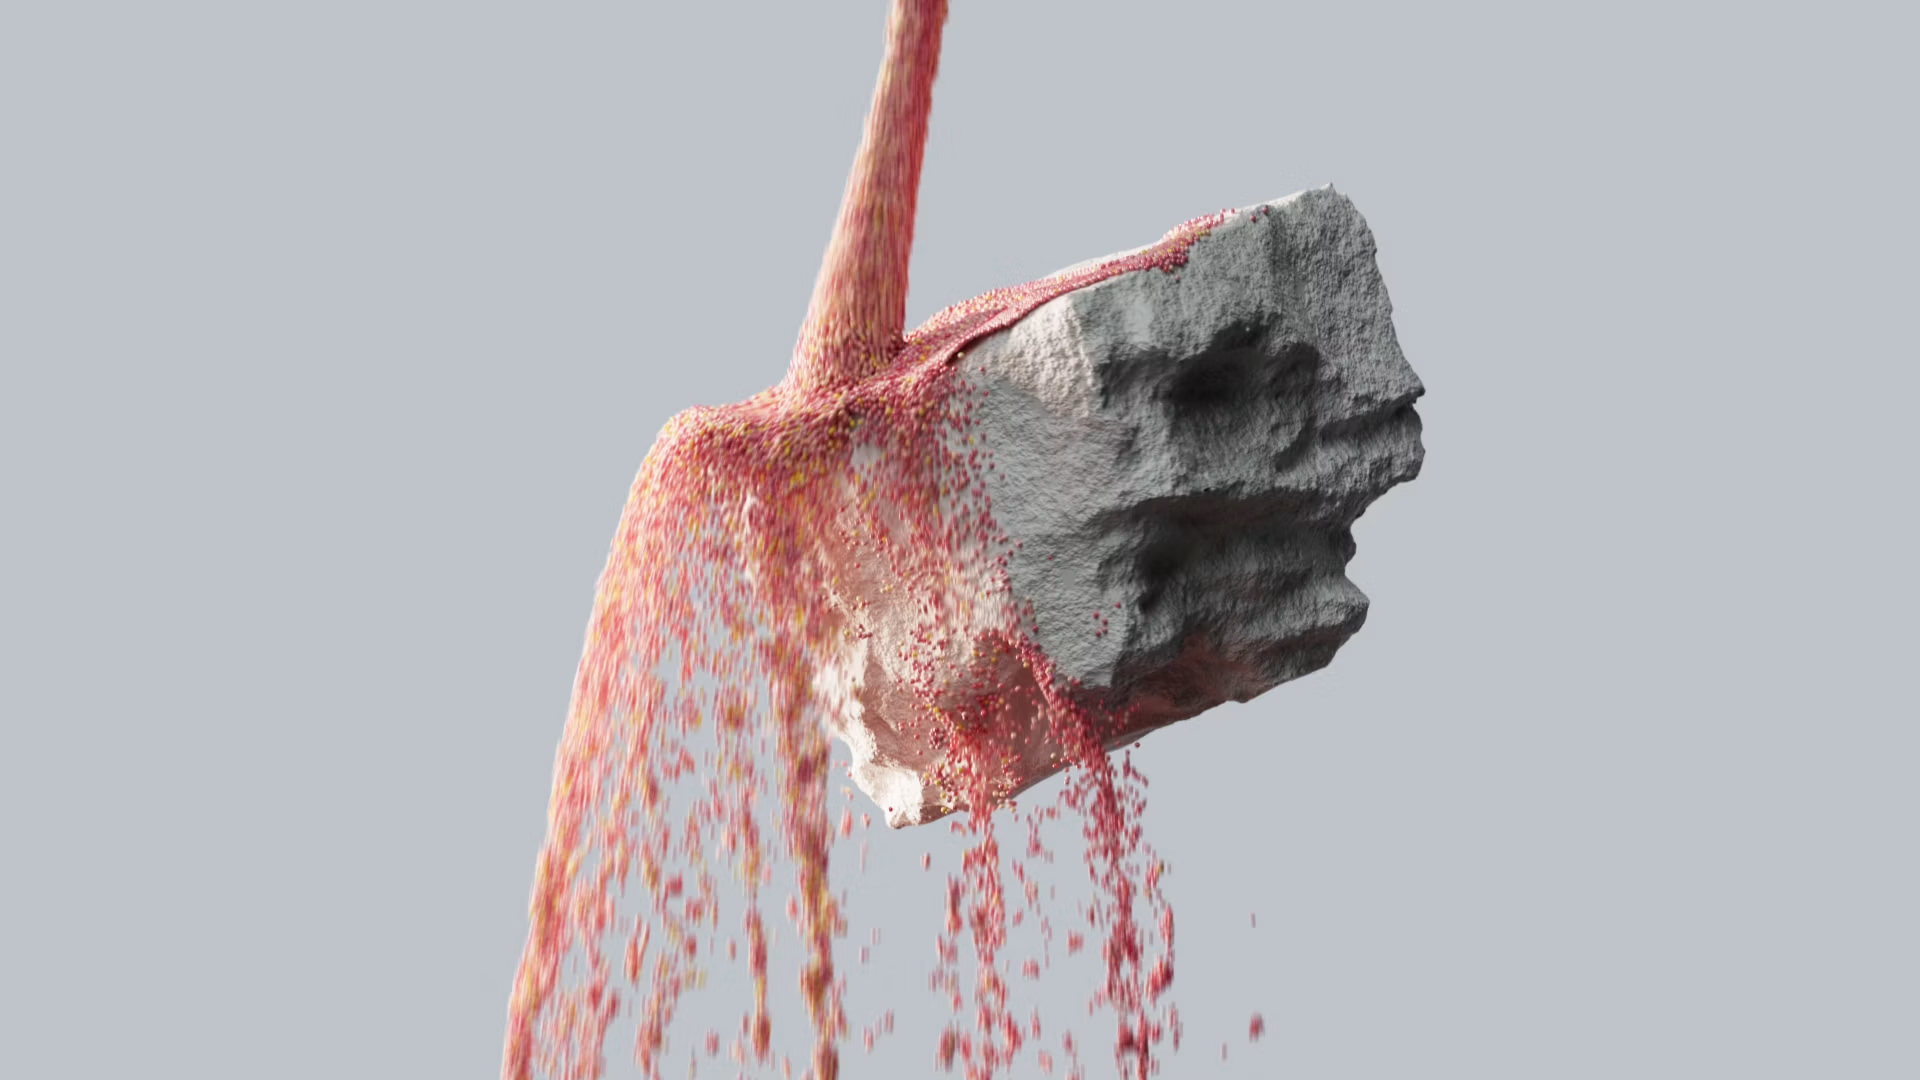
By utilizing sparse-voxel solvers, Pyro only calculates data in areas of active smoke or fire. This dramatically reduces memory overhead compared to traditional grid-based volumetric solvers.
2. Configuring Pyro Emitters for Temperature, Fuel, and Velocity
To generate realistic flames or smoke, you must configure your emitter settings carefully.
Apply a Pyro tag to your emitter object (such as a parametric sphere or cloner). Set your temperature, fuel, and initial velocity parameters to control how quickly the fire ignites and rises.
3. Shaping Atmospheric Chaos with Vorticity and Turbulence
In nature, smoke and fire are chaotic, forming swirling eddies as they rise.
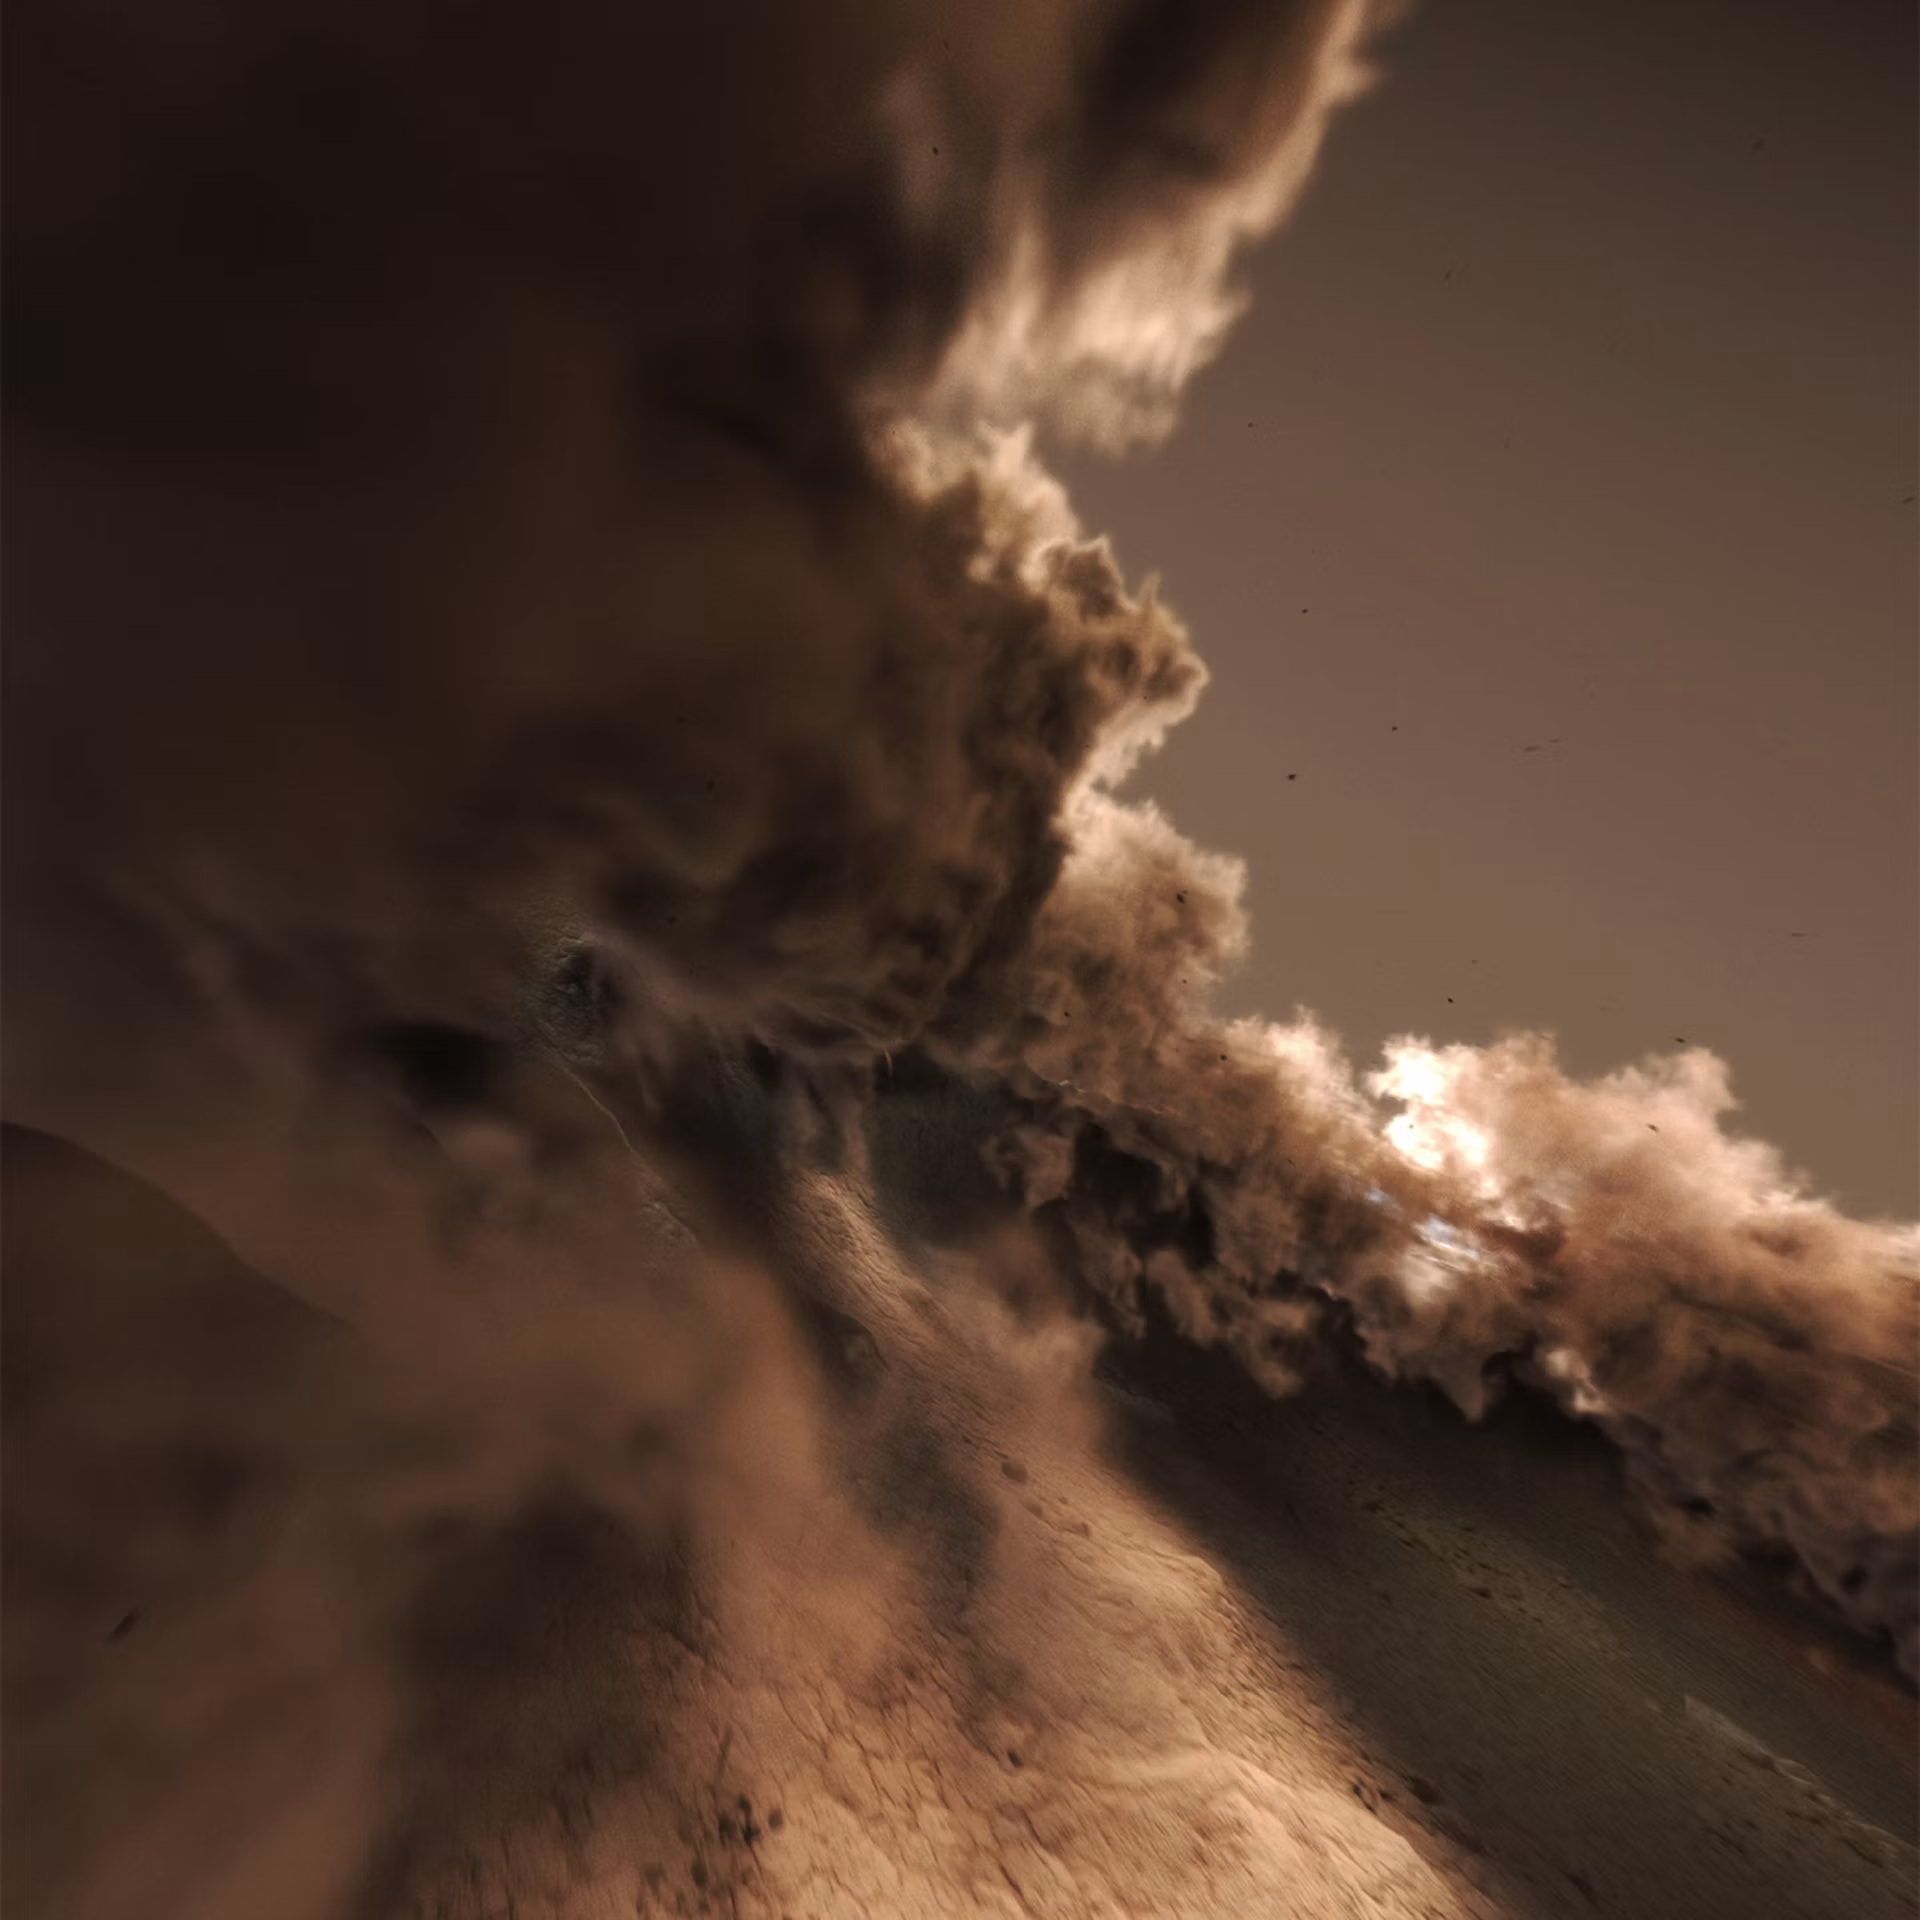
Introduce Vorticity and Turbulence modifiers to break up the uniform shape of rising smoke. These forces add microscopic swirls and wind fluctuations, making your simulations look natural and photorealistic.
4. Advanced Combustion Controls: Regulating Density and Smoke Age
To control the lifespan of your fire and smoke, use dissipation settings.
Adjust your Smoke Dissipation curve so smoke fades away naturally over time, preventing your scene from filling up with thick fog. For fire, set realistic Burn Rates to control the lifespan of your flames.
5. Tuning Viewport Voxel Scales and VRAM Resource Allocation
High-resolution simulations require a lot of memory and can slow down your system.
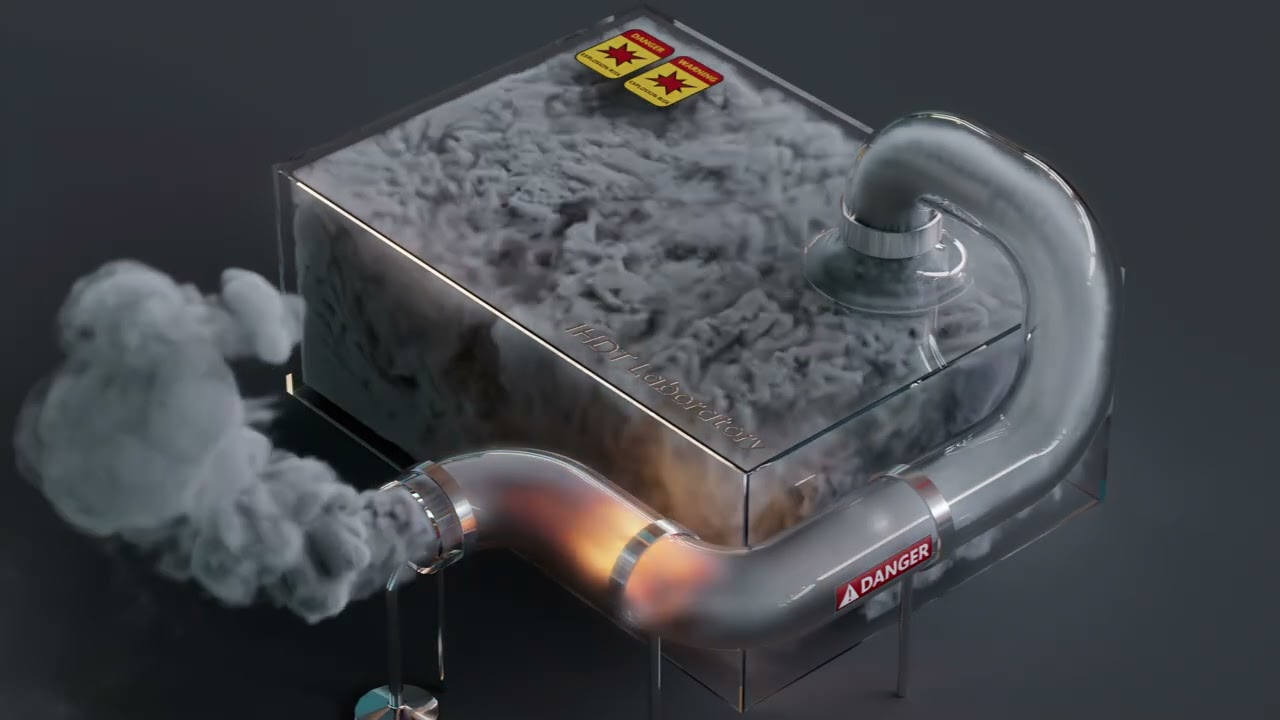
To keep your viewport responsive while animating, use a larger voxel size. Once your motion and timing are locked, reduce your voxel size for your final production render cache.
6. Shading Pyro Volumes with Redshift Volume Materials
Once simulated, your Pyro volumes must be shaded to interact realistically with lighting.
Apply a Redshift Volume material to your Pyro object. Map your simulation's density and temperature channels to Redshift’s absorption, scattering, and emission settings to render realistic fire and smoke.
7. Exporting and Caching Volumes to NanoVDB and VDB Formats
For reliable rendering across different systems and farms, you must bake your simulations.
Cache your Pyro simulations as OpenVDB (.vdb) or NanoVDB files. This locks in your volumetric data on a frame-by-frame basis, preventing rendering inconsistencies.
8. Accelerating High-End Pyro Rendering on Sky Render Farm Nodes
Volumetric rendering is incredibly intensive and can easily slow down local hardware.

Sky Render Farm’s powerful GPU nodes process complex Pyro and Redshift volumetric renders with ease, delivering pristine, high-fidelity results under tight deadlines.