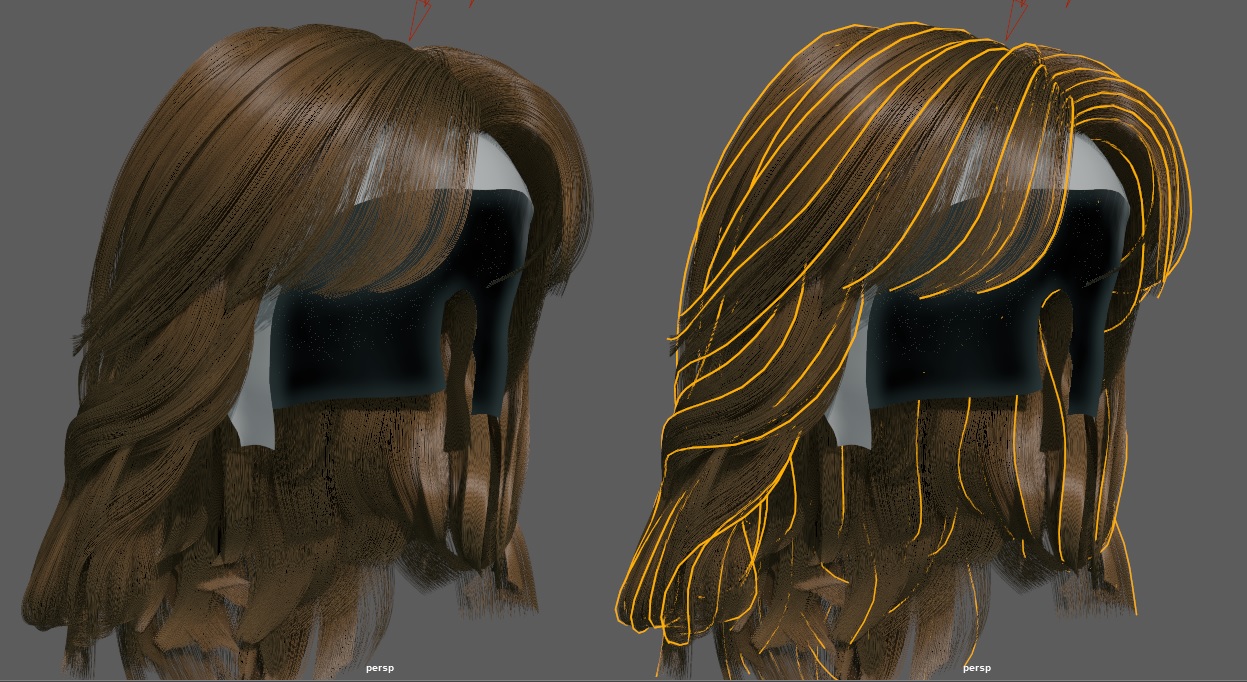
Creating high-fidelity hair, fur, and feathers using Autodesk Maya's XGen interactive grooming toolset is a highly sought-after skill in high-end character VFX. However, XGen's file structure is notoriously sensitive, often resulting in missing hair caches or render-time failures when scenes are moved between workstations or sent to render farms.
This comprehensive guide details the best practices for structuring your XGen projects, optimizing hair splines, and preventing VRAM crashes in Arnold.
1. Understanding Maya Project Structures & Setting Relative XGen Paths
XGen saves description folders, groom maps, and modifiers outside of the scene file. Before creating any description, you MUST explicitly set your Maya Project.
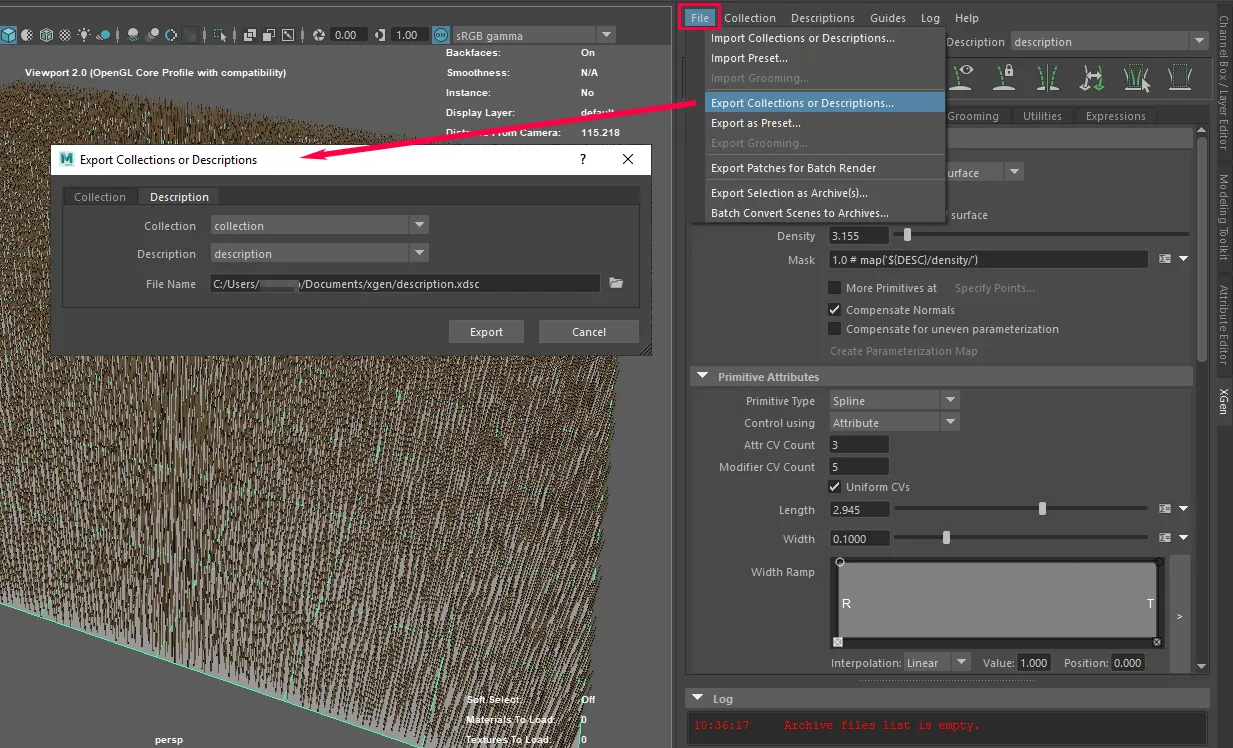
To prevent absolute file path errors, go to File > Project Window and create a standard Maya workspace directory. Verify that your XGen path configuration references utilize relative tokens like ${PROJECT} instead of hardcoded local drives (such as C:/Users/Artist/Documents...). This ensures your hair grooms load perfectly on any computer or cloud render farm.
2. Scalp Geometry Requirements & Clean UV Layouts for Grooming
XGen generates hair splines based on the UV coordinates of your scalp geometry. Ensure your scalp geometry has clean, non-overlapping UVs within the 0-1 coordinate space, or structured UDIM layouts. Any UV distortion or overlapping polygons will cause XGen clumping maps to generate incorrectly, resulting in bald spots or severe placement errors.
3. Managing Hair Strands and Density Maps for Close-Up Rendering
When creating close-up character portraits, you need millions of individual hair strands to make the groom look dense and natural.
Instead of generating all hairs using guides, use custom black-and-white density maps to control where hairs grow. This allows you to paint higher densities around the crown and hairline while reducing counts in areas that are hidden, saving memory and keeping viewport speeds fluid.
4. Tackling Arnold VRAM Memory Consumption and Out-of-Memory Errors
Rendering millions of physical, ray-traced hair curves can quickly saturate your graphics card's VRAM.
To optimize memory consumption, make sure to use Arnold Curves instead of heavy, full-mesh geometry. Enable Frustum Clipping inside XGen's render settings to only generate hair strands within the active camera's field of view, and reduce guide and strand density for background or secondary characters.
5. Generating Custom Clumping and Noise Modifiers for Organic Fur
Real hair is never perfectly straight and parallel; it clumps together and has subtle flyaway strands. Use XGen's Clumping modifiers to pull hair strands into organic bundles, mimicking real hair behavior.
Adding a Noise modifier on top of your clumps introduces subtle random variations, mimicking wind or natural wear. This prevents your groom from looking too digital and artificial, instantly elevating the realism of your characters.
6. Direct Cloud Groom Rendering on Sky Render Farm Nodes
If your character grooms are causing local Out-of-Memory crashes or sluggish viewport playback, offload your Arnold render tasks to Sky Render Farm.
Our cloud rendering nodes feature multi-GPU setups with massive VRAM buffers and high-core CPU servers, ensuring fast, stable, and error-free renders of your heaviest Maya grooms. You can scale your renders up to cinematic quality without worrying about hardware bottlenecks.