Maya productions render a lot of frames: character animation, simulations, lookdev turntables, and shots that go back for revisions again and again. A cloud render farm turns an overnight render into an hour and frees your workstation for the next shot. This guide explains how to prepare a Maya scene for the cloud and how Maya rendering works on Sky Render Farm.
What the farm supports
Sky Render Farm renders Maya 2018 through 2025 (2018, 2019, 2020, 2022, 2023, 2024 and 2025) with these render engines:
- Arnold
- V-Ray
- Redshift
- Maya Hardware 2.0
- Turtle and Vector Render
Scenes are submitted as .ma or .mb. The supported software page lists the current matrix.
How Maya cloud rendering works here
Maya runs as managed cloud rendering: you submit, the farm assigns the machines, and you pay for the CPU and GPU hours your job uses, in SkyPoints from your prepaid balance. No subscription, no licence management on your side.
- Install SkyRender Desktop. It adds the Sky Sender plugin to Maya.
- Open your scene and submit from Sky Sender.
- SkyRender Desktop validates the scene and reports anything the farm cannot load before uploading.
- The scene and its dependencies upload, and frames render in parallel across many machines.
- Frames download automatically to your chosen folder as they finish.
Preparing a Maya scene
Set the project and make paths relative. Set your project (File → Set Project) and keep textures, caches and references inside it. Absolute paths to a local drive will not exist on the farm. The File Path Editor (Windows → General Editors) shows every external file and whether it resolves.
Check references. Referenced scenes must be present and loaded. Unloaded references render as nothing.
Cache simulations. nCloth, nParticles, Bifrost and fluid simulations should be cached, and the cache files included. Rendering from a live simulation on a farm node wastes time and can differ from frame to frame.
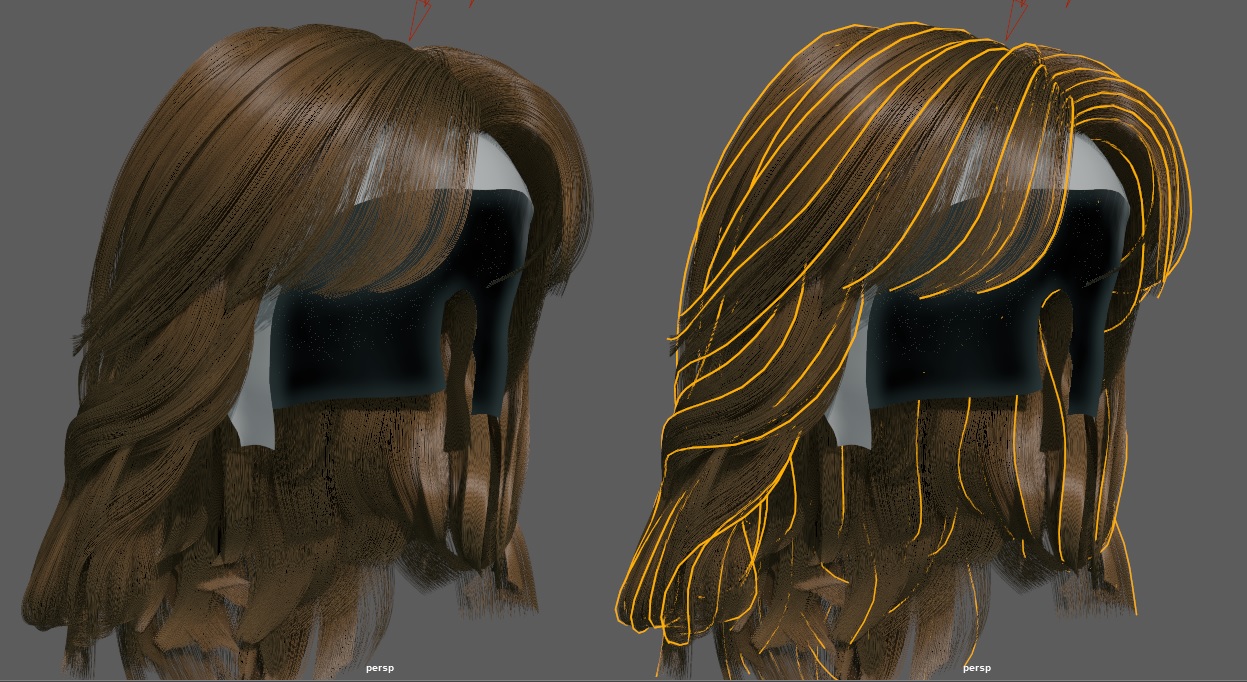
XGen and hair. XGen collections rely on file paths inside the description. Keep them relative to the project, and test a frame on the farm before committing a full sequence.
Render settings. Confirm the renderable camera, frame range, image format (EXR for compositing), and render layers. Disable render layers you do not need; each enabled layer is another full render.
Arnold, V-Ray and Redshift tips
Arnold. Tune Camera (AA) samples first, then raise only the specific ray type that is noisy (diffuse, specular, transmission, SSS). Raising everything is the most common reason Arnold renders are slow. Use the denoiser for noisy passes where appropriate.
Redshift. A GPU renderer, very fast when the scene fits in graphics memory. Keep texture sizes under control and use Redshift proxies for heavy repeated geometry.
V-Ray. Set a noise threshold rather than fixed subdivs, and test GI settings on a few frames for flicker before rendering the sequence.
Render a test first
Send the two or three heaviest frames of the shot before the full range. That confirms the scene renders correctly on the farm and gives you the real time and cost per frame. New accounts receive free SkyPoints for this. The cost calculator estimates from your local render time.
Common problems
- Missing textures. A path is absolute or outside the project. Check the File Path Editor.
- Empty or missing objects. An unloaded reference, or a plugin node the farm cannot load.
- Simulation looks different. It was not cached, or the cache was not included.
- Wrong camera or frame range. Check the renderable camera in Render Settings before submitting.
Next steps
Read more on the Maya render farm page, compare engines in GPU vs CPU rendering, or follow the Quick Start guide.