3ds Max scenes are among the heaviest in 3D: archviz interiors with thousands of proxies, exteriors scattered with Forest Pack, Corona or V-Ray renders at 4K and above. A cloud render farm lets you hand those frames off and keep working. This guide covers how to prepare a 3ds Max scene, what to check before submitting, and how rendering 3ds Max in the cloud works on Sky Render Farm.
What the farm supports
Sky Render Farm renders 3ds Max 2018 through 2025 (2018, 2019, 2020, 2021, 2022, 2023, 2024 and 2025), with these render engines:
- V-Ray
- Corona
- Arnold
- Redshift
- Scanline and Quicksilver
Scene files are submitted as .max. The full, current list is on the supported software page.
How 3ds Max cloud rendering works here
3ds Max runs as managed cloud rendering. You submit the job; the farm assigns the machines and bills the CPU and GPU hours the job uses, paid in SkyPoints from your balance. You do not need to pick hardware or manage licences for the render nodes.
The workflow:
- Install SkyRender Desktop. It adds the Sky Sender plugin to 3ds Max's menus and toolbars.
- Submit the open scene from Sky Sender.
- SkyRender Desktop checks the scene and reports any plugin the farm cannot load, before anything is uploaded or charged.
- The scene and its assets upload; the job renders across multiple machines at once.
- Finished frames download automatically to your chosen folder.
Preparing a 3ds Max scene
Resolve every asset path. Open the Asset Tracking dialog (Shift+T) and fix every missing or absolute path. Textures, proxies, IES files and HDRIs must all be found. Paths that point to a local drive letter will not exist on a render node.
Collect proxies and caches. V-Ray proxies (.vrmesh), Corona proxies (.cgeo), Alembic caches and point caches are external files. Make sure each one is part of the submission.
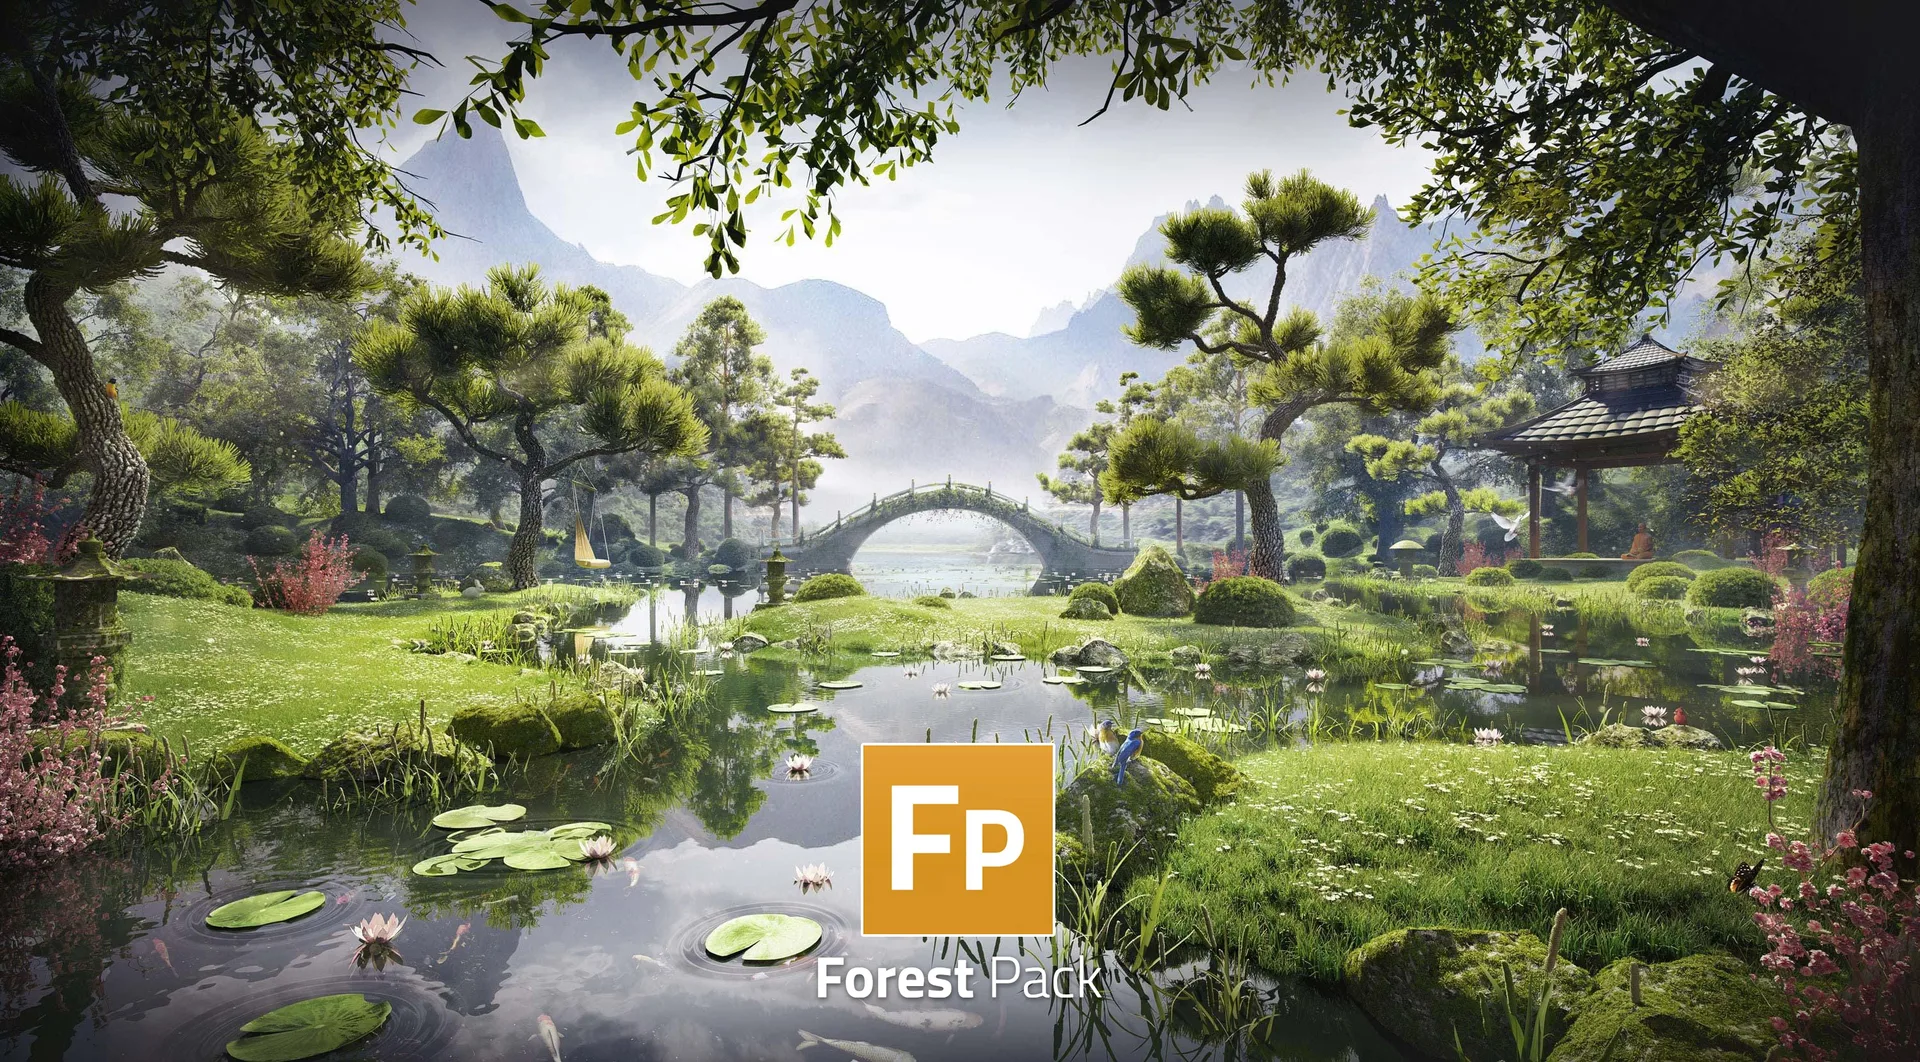
Check third-party plugins. Forest Pack, RailClone, tyFlow, Phoenix and similar plugins must be available on the farm in a compatible version. The validator in SkyRender Desktop lists anything unsupported. Where a plugin cannot be loaded, converting its result to geometry or a cache is the reliable fallback.
Set the output. Frame range, resolution and output path in Render Setup. For compositing, save to EXR with render elements enabled.
Lock the camera and frame range. It sounds obvious; it is also the most common reason to re-render.
Settings that save money
Corona. Use a noise level limit rather than a fixed pass count, and enable the denoiser. For animation, make sure the denoiser is suitable for sequences so frames do not flicker.
V-Ray. Use the bucket or progressive image sampler with a sensible noise threshold. Light cache and irradiance map settings for animation should be tested on a few frames first; flicker is expensive to fix after a full render.
Resolution. Render test frames at final resolution. Noise behaves differently at 1080p and 4K.
Heavy scatters. Forest Pack and RailClone scenes can use a lot of memory. Limit display and render density for objects far from the camera.
Test first, then render the sequence
Before you submit hundreds of frames, send the two or three heaviest ones. You will see whether the scene renders correctly on the farm, how long a frame really takes, and what the full job will cost. New accounts receive free SkyPoints for exactly this. The cost calculator gives an estimate from your local render time.
Common problems
- Missing textures or black materials. An asset path could not be resolved. Check Asset Tracking.
- Plugin objects render empty. The plugin is not available on the farm, or is a different version. Check the validator's report.
- Flicker in animation. GI caching or denoising settings designed for stills. Test a short range first.
- Different look from local render. Colour management or gamma settings differ, or a local-only plugin is involved.
Next steps
Read more on the 3ds Max render farm page, see how the costs work in Render farm pricing in 2026, or follow the Quick Start guide for your first job.